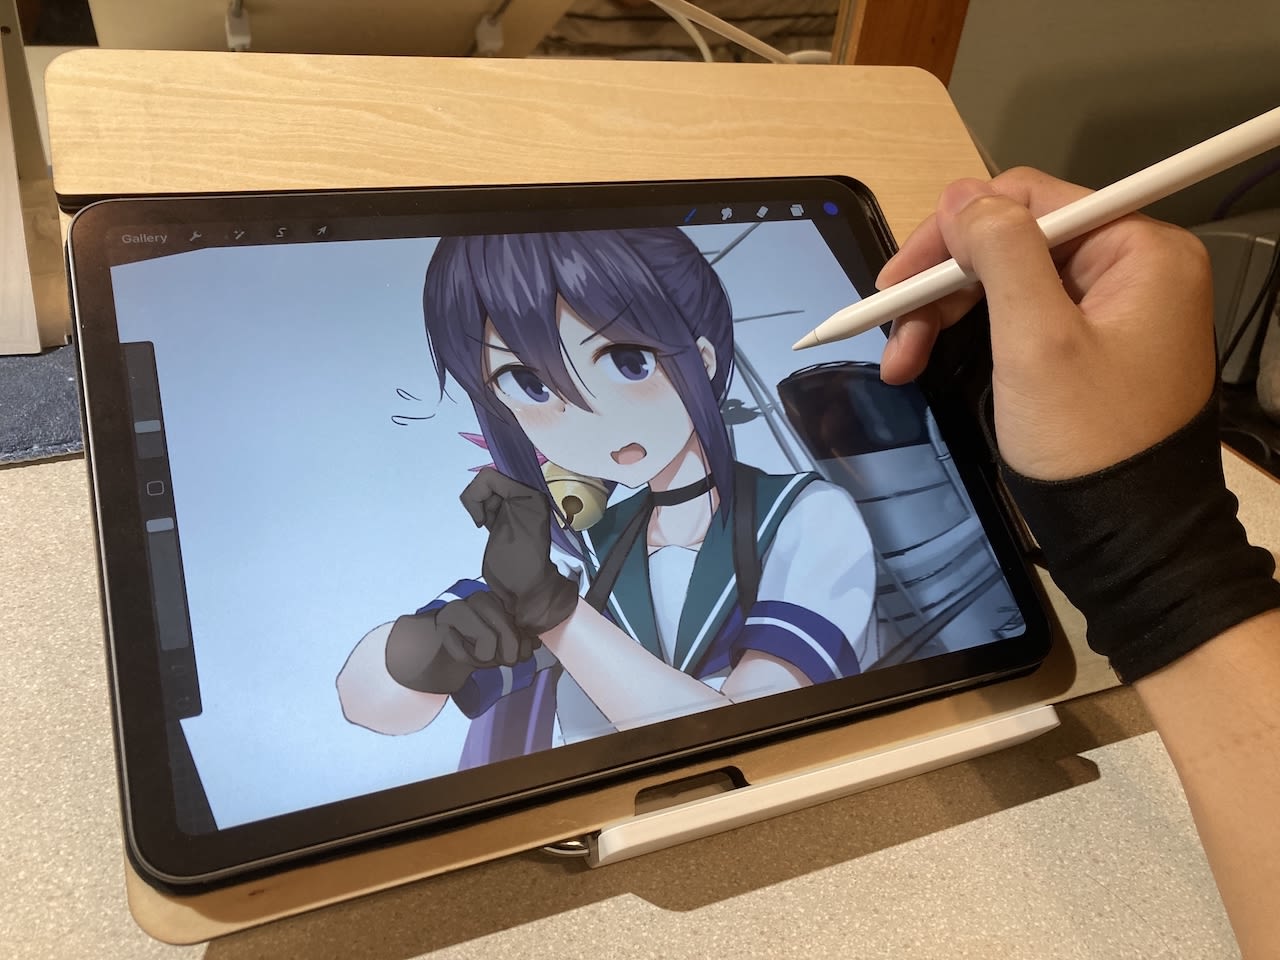
iPad and Apple Pencil combo probably has the best drawing experience in the tablet market for now, tons of people love using their iPad to create amazing artworks, but you might encounter an common issue (especially for 11 inch user): The iPad’s bezel is way too small for your hand to rest on, even it’s laid down flat on the table.
Though the iPad is already very thin (5.9mm on pro model), the drawing experience is still far from drawing on a flat thin paper, and putting hand on iPad just waste a large portion of the screen, which is the main reason I come up with this project today. The result was quite good, it’s very easy to make and costs under 35 dollar, so I want to share with you today.
Drafting
First, this project is design to create a flat surface for your hand to rest on when drawing on an iPad.
Most drawing tablets on the market always have some sort of bezel for hands to rest on, but it’s imaginable that Apple will never design like this on a consumption/portable tablet.
Since iPad is not only for drawing purpose, so I came up with this idea: I can make myself an iPad drawing board, that is detachable when you don’t need it (like when you go on a trip and just want to watch Netflix on it), which sounds great right?
Of course I’m not the first one trying to solve this issue, there’s already similar products on the market: Sketch Board Pro but the $120’s price tag is just a bit too high, and the size is too large for my table. The other one I found on Taobao is pretty cheap like around 30~40USD, but it’s very thick, heavy and most importantly, the size is too large for my table too.
So I decide to make one fits myself.
The goals for this project:
- The hand can rest on the same level with iPad’s screen
- Design for iPad Pro 11 inch and iPad Air 4
- Won’t block any feature on iPad (buttons, speaker, etc.)
- iPad can attach on it with magnet
- As portable as possible
- Can use both in portrait and landscape mode
- The cheaper the better
After serious thought, here’s my solution:
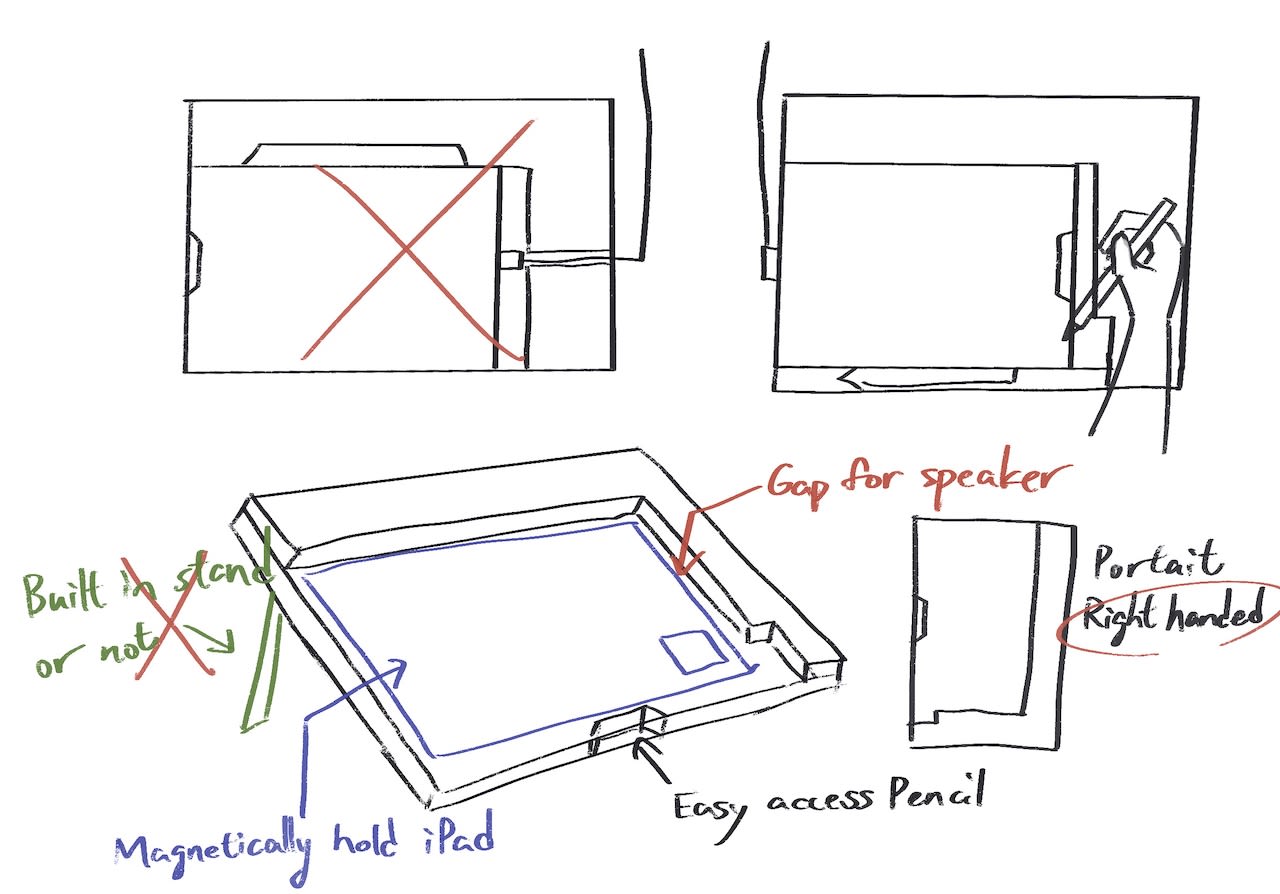
The material I plan to use is linden plywood, 4 layers in total.
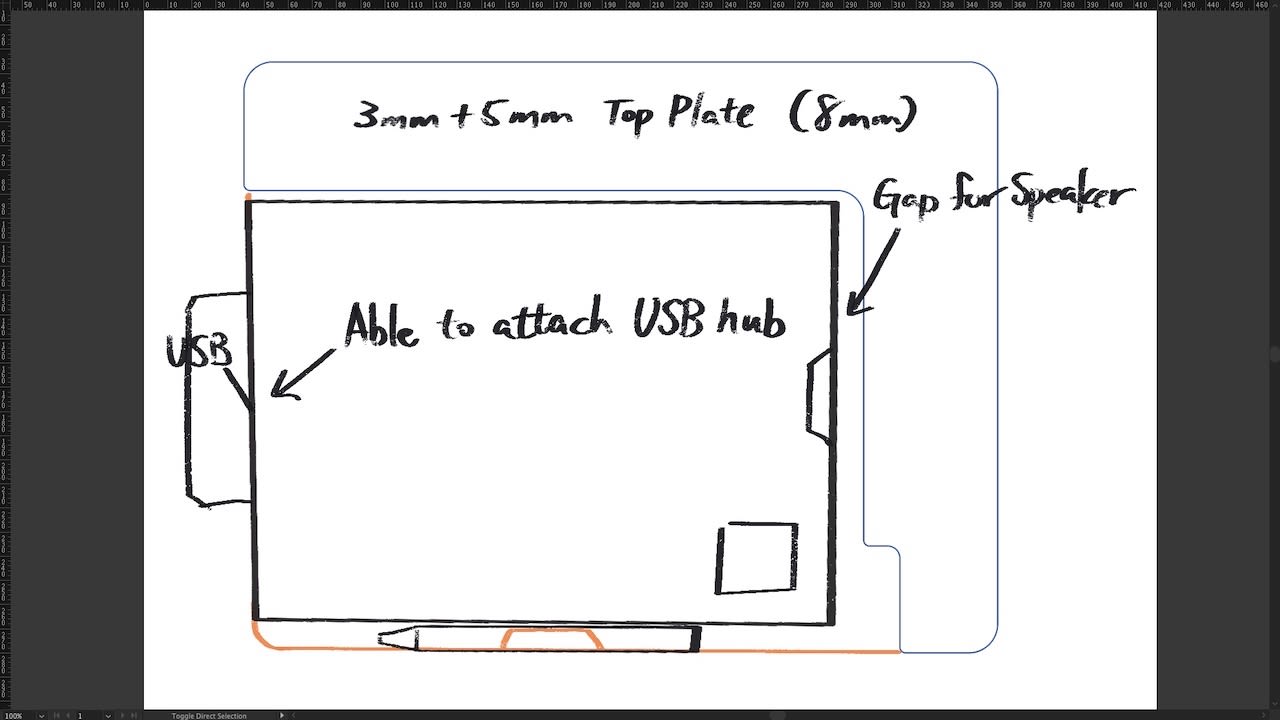
The reason that I make the USB C slot facing outside is because it can be used with any accessory, like a Type-C hub for example.
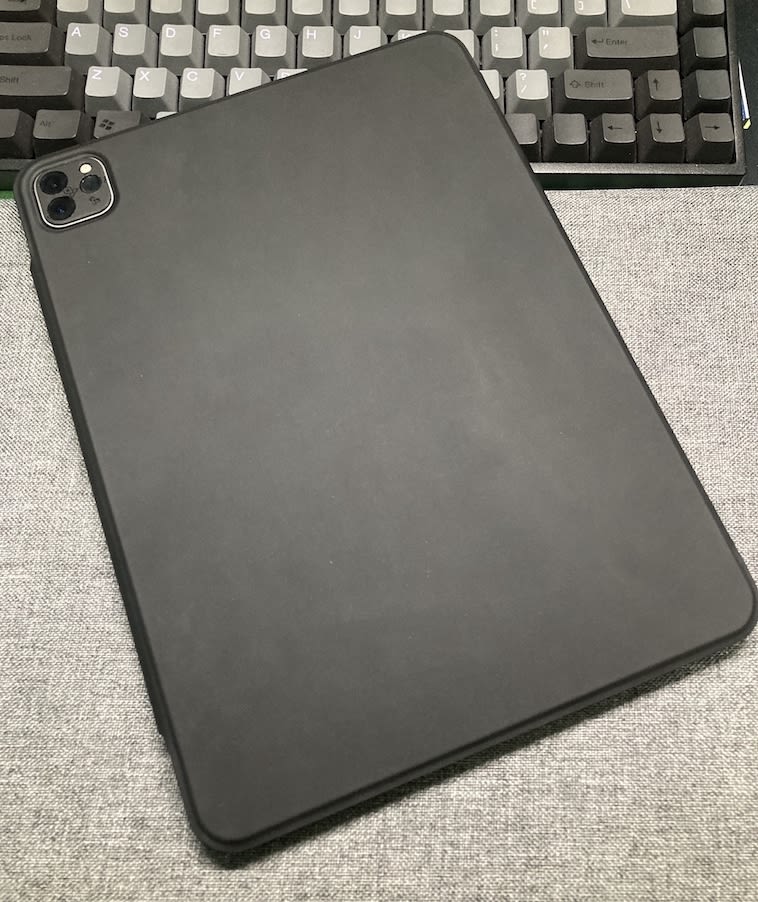
The magnet part to hold iPad is actually pretty easy to deal with, I just use third-party magnet folio cover and cut it in half, then glued onto the plate and that’s it. You can use the Apple official folio cover to get the best result but I think that’s an over kill LOL.
BTW for those who interest, the folio cover I use is from UGreen, I’ve seen ESR has the same kind of product too. All of them works I think.
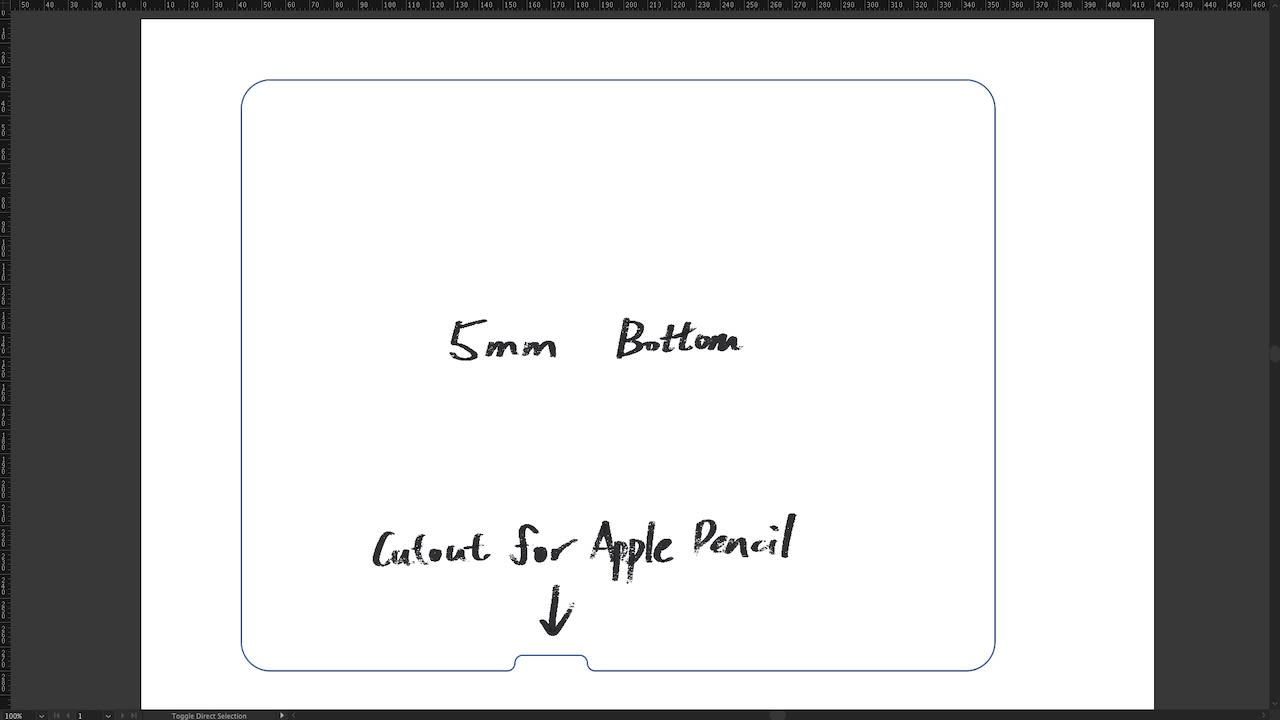
Then use Illustrator to draw the outline of the board.
- 5mm Bottom plate, about $31cm * 24.5cm$ and have a notch for Apple Pencil.
- 3mm Bottom plate, it will glue to the top of 5mm one, it has a camera hole to fit the camera bump.
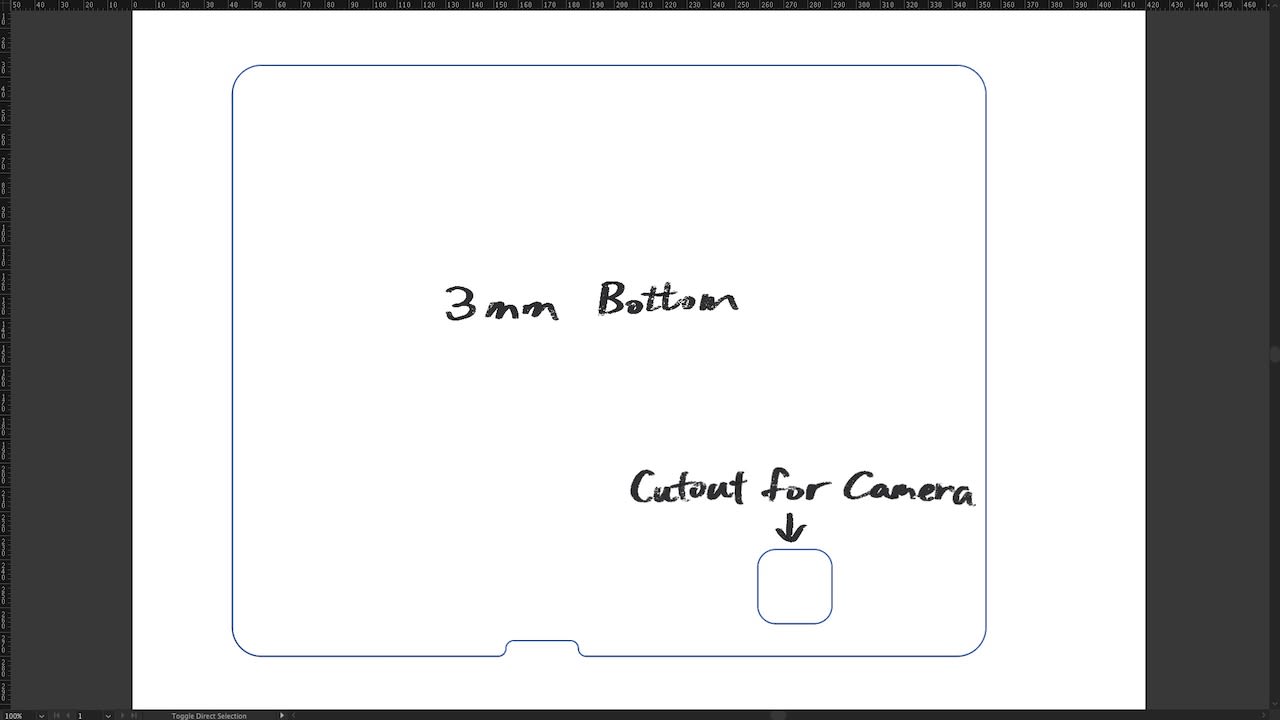
- The hand rest has 2 layers too, one for 3mm the other is 5mm. 8mm total is about as same thickness as the iPad plus the folio cover. And there’s a cutout at the bottom right for power button or Air 4’s finger print reader.
You can support me and download the *.ai files from here 😉
Material/Tool
- Laser cutting linden plywood
- Adhesive for wood (I use 3M Scotch, you can use white glue but needs more time to dry)
- Folio cover
- Black tape (fix the cover edge after cutting)
- File (smooth down the edge of woods)
Make it real
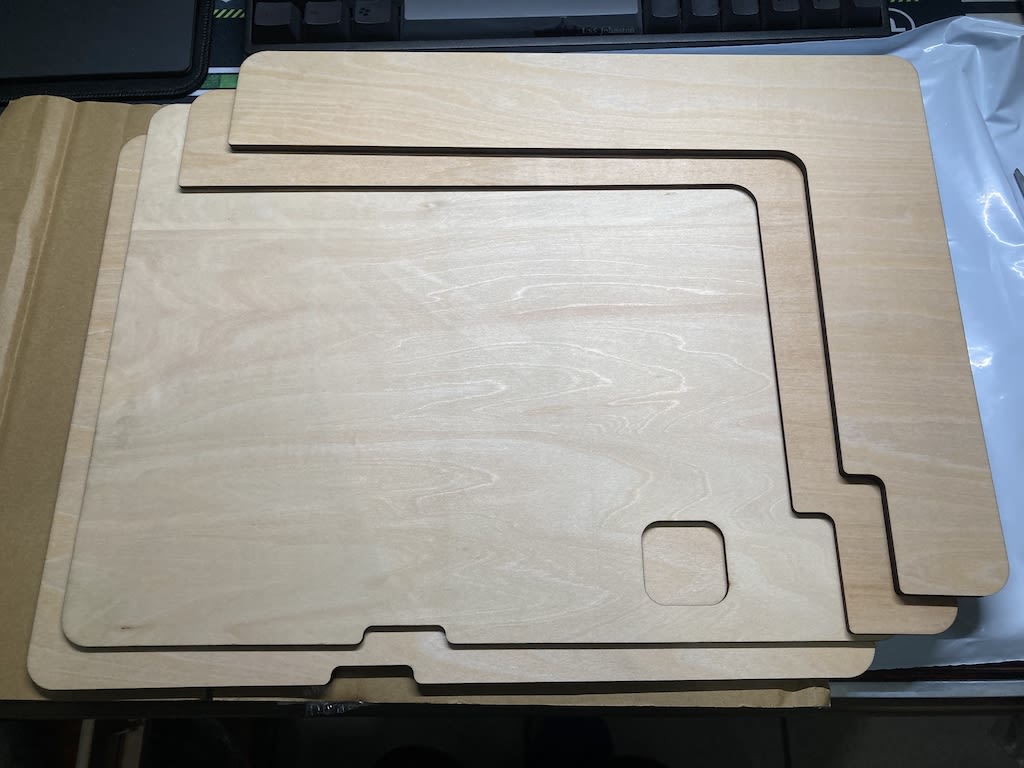
It’s actually almost done after we got the laser cutting plywood.
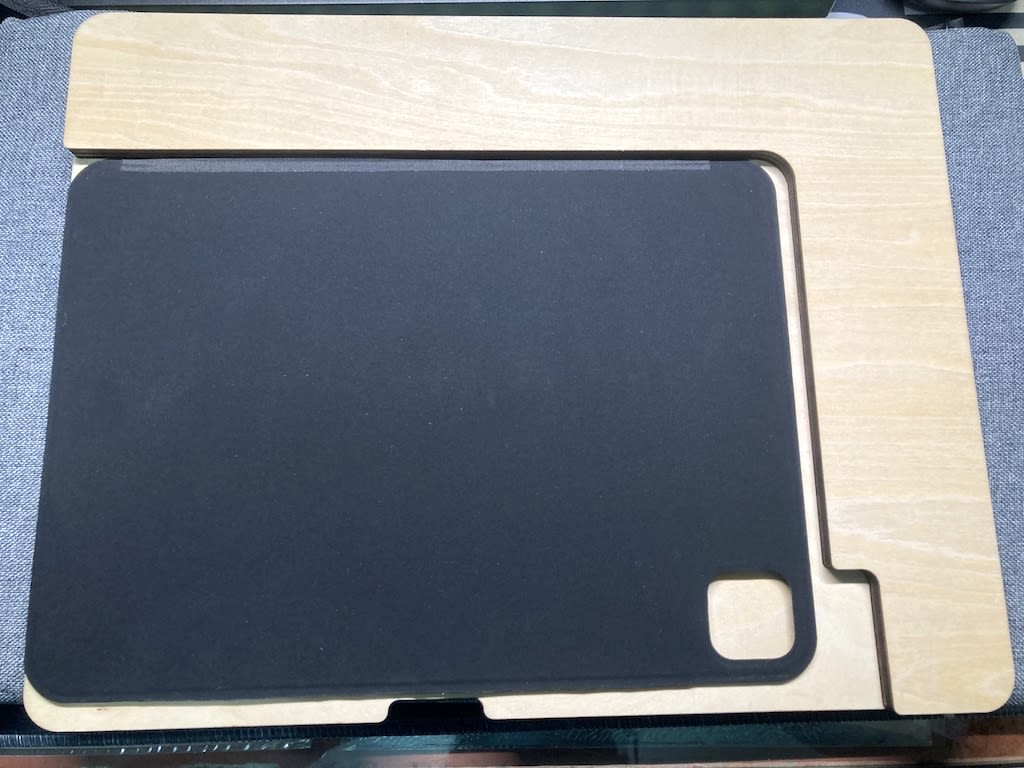
Cut the folio cover and glue them together, done!
You can use it with any tablet/laptop stand you want!
Landscape mode:
Portrait mode:
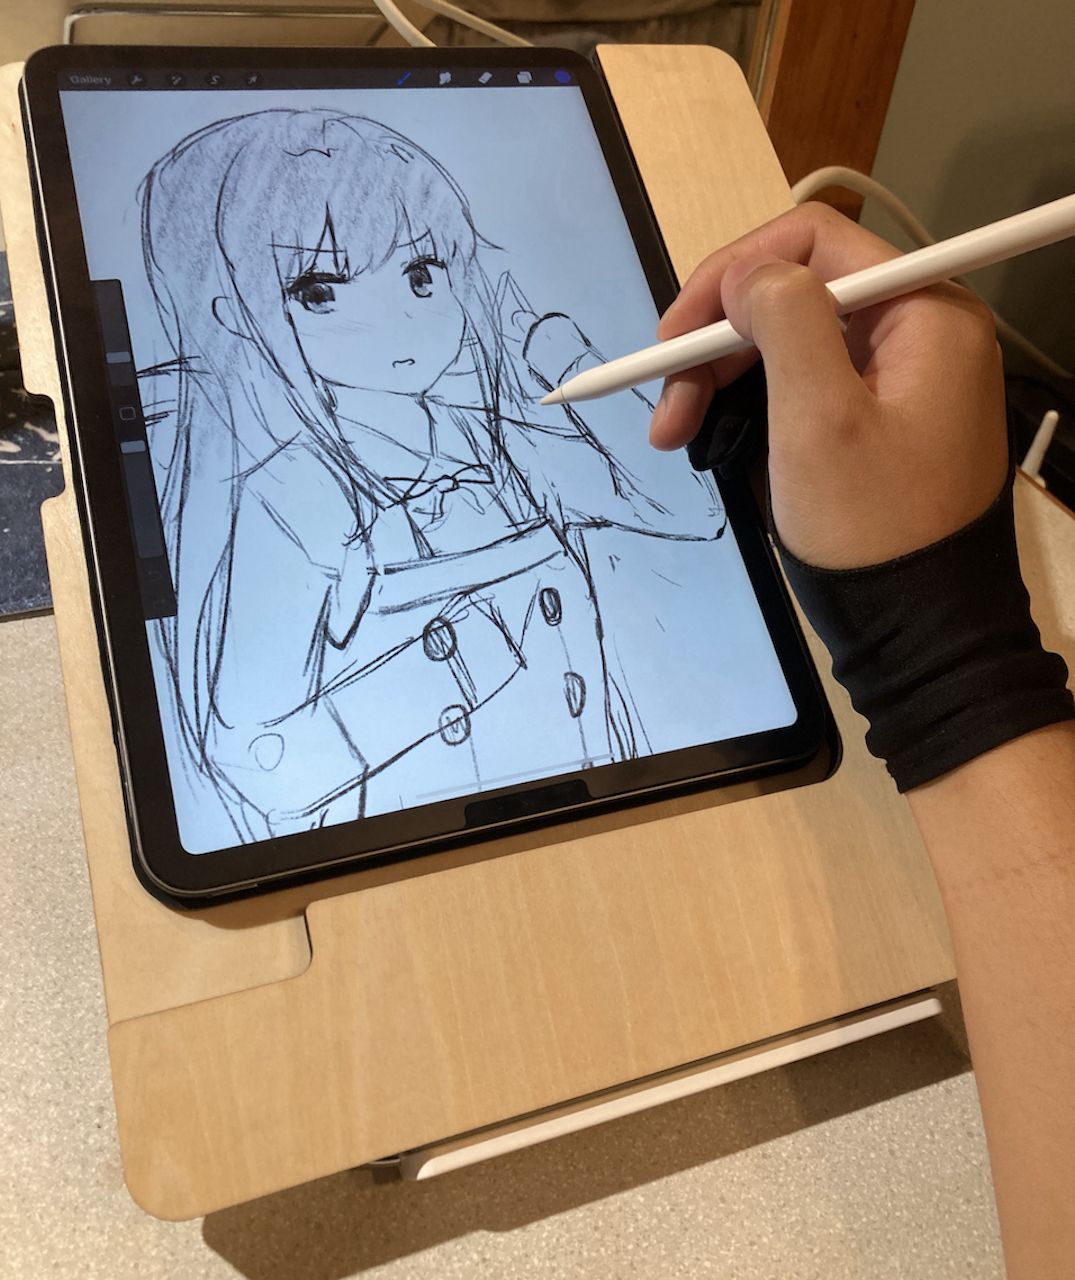
It’s just what we want right? And iPad is very stable thanks to the magnet cover underneath it, the speaker and buttons works just like normal, and the cutout for the Apple Pencil works as intended, it’s very easy to take it down and start drawing. Plus the size isn’t crazy big so we can take it to the coffee shop just like taking a 13 inch laptop. The best of all, it just cost less than 35 dollar!
Improvement/Todo
Well, there’s still some improvement that I think is great:
- VESA Mount Support (many drawing stand has VESA support)
- More easy way to dismount the iPad
- Add light-weight built-in stand
Thanks for reading! (〃^^〃)

Comments